1913 · Story
The fork was checked with its wheel before brazing was finished
A 1913 workshop book shows how fitting, heat and repeated checks turned steel parts into a bicycle fork.
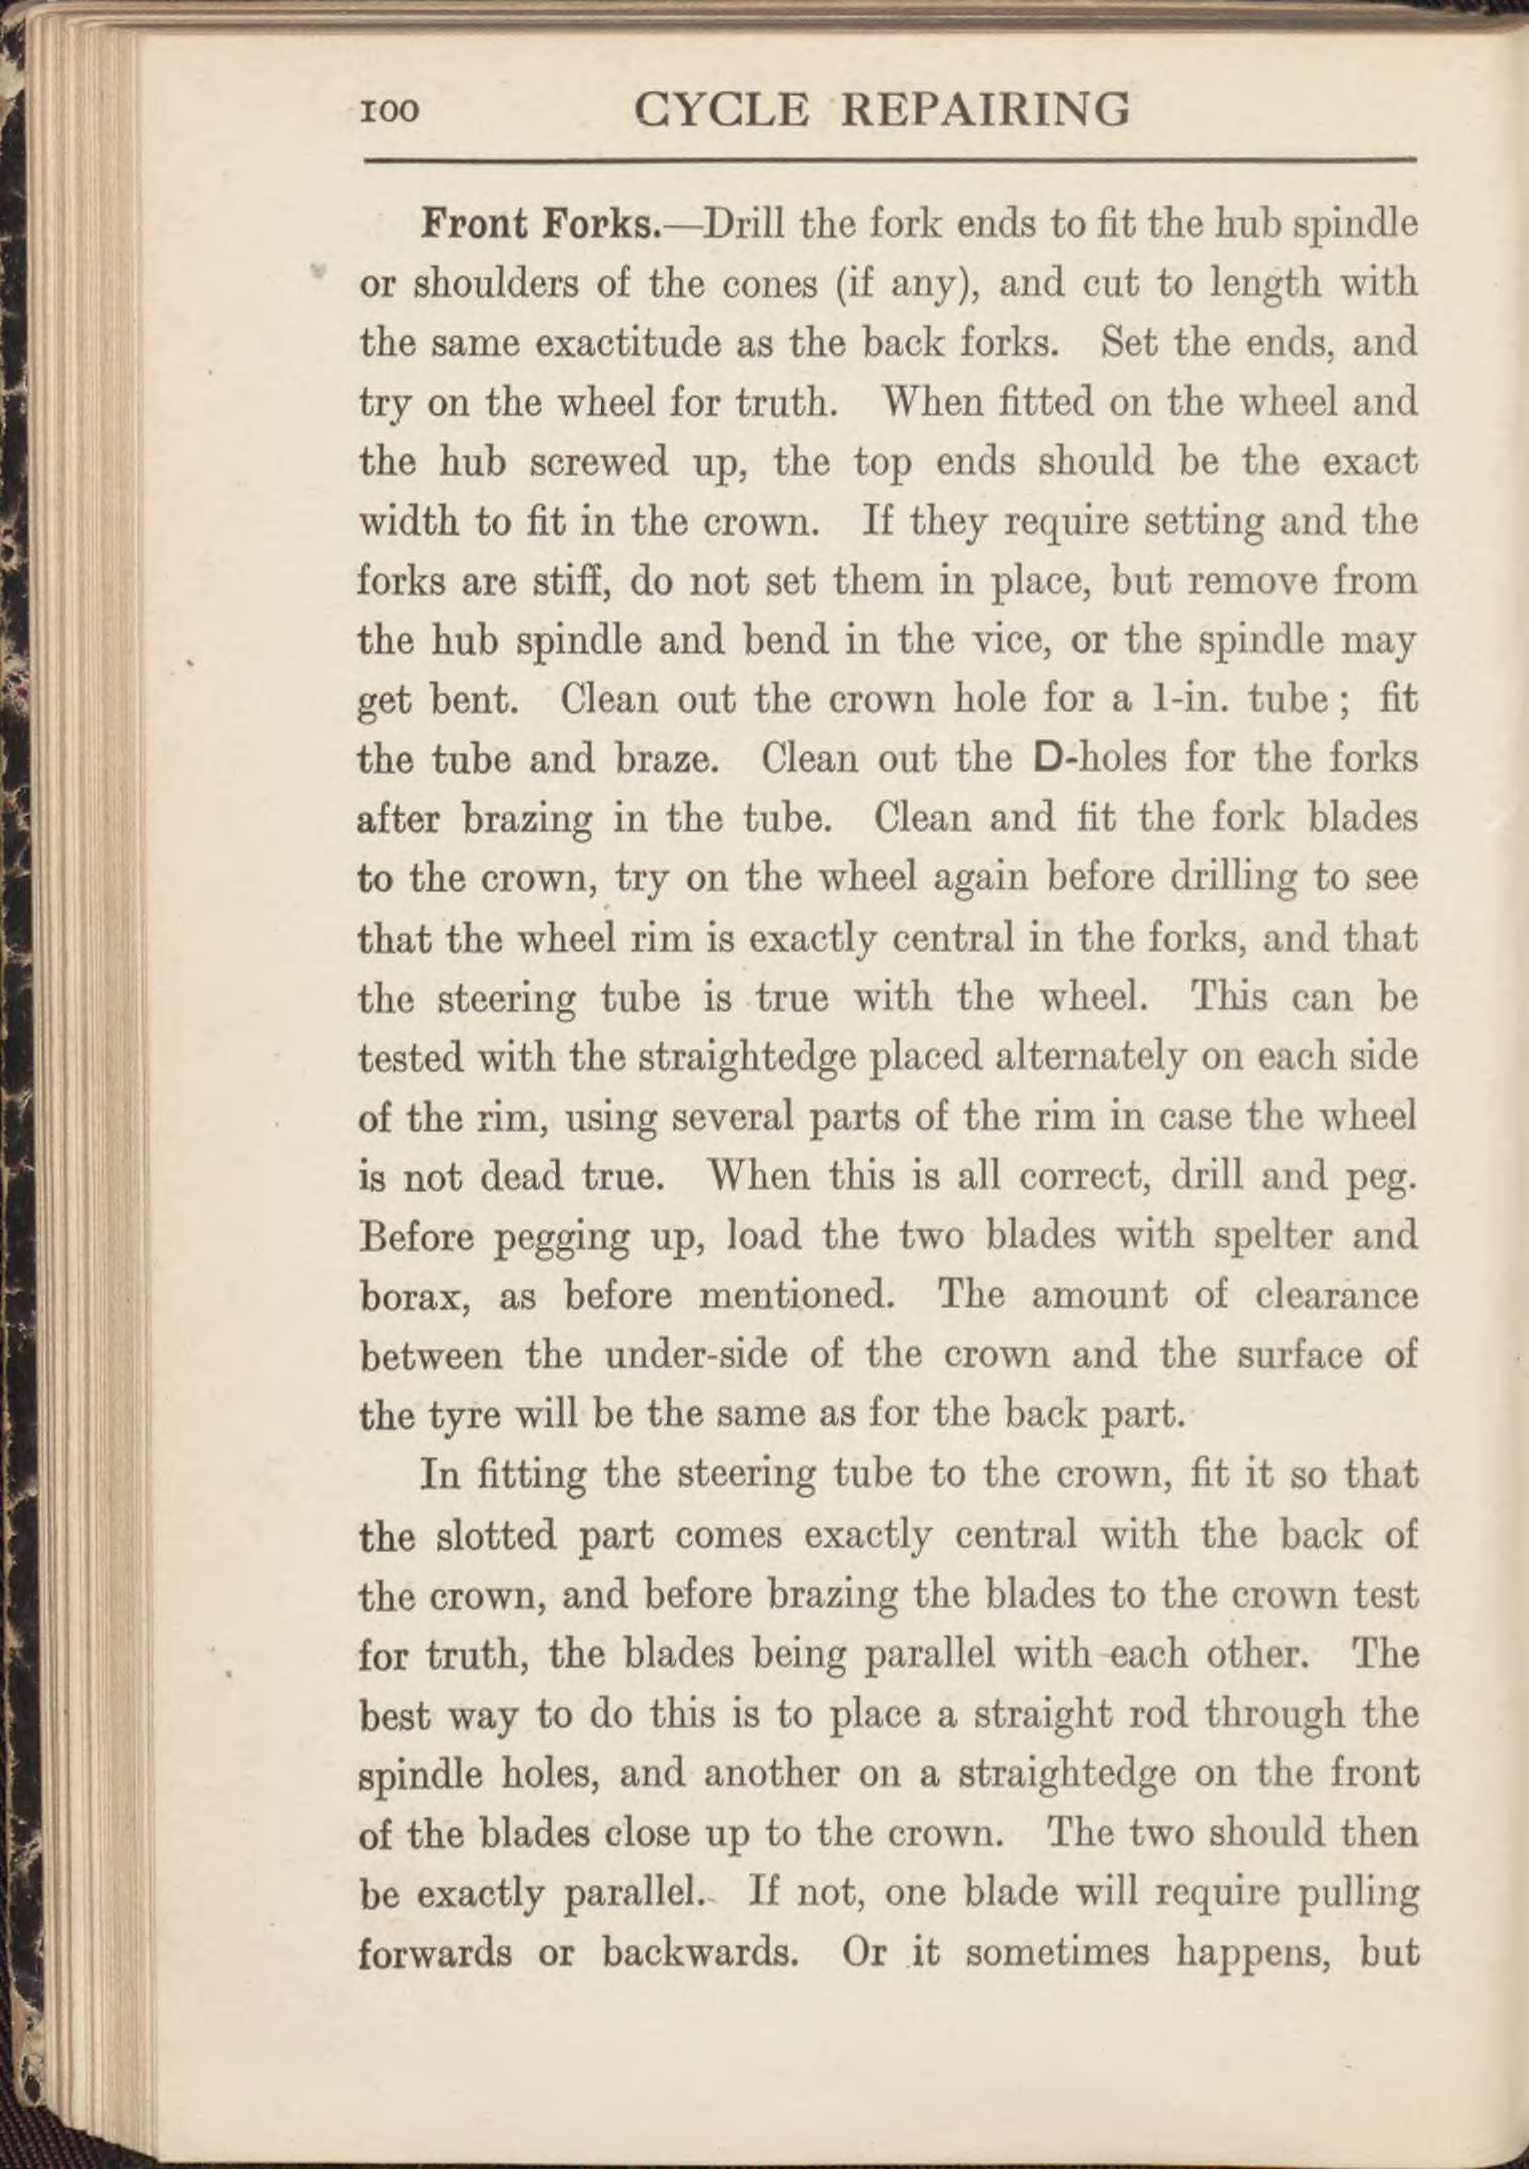
The front wheel must go in before the fork is finally brazed. It is one of the recurring checks in a British workshop book first published in 1913. The parts may be cut and fitted into the crown, but only with the wheel installed can the builder see whether the rim actually sits centrally.
There is something matter-of-fact about that order. Work does not simply advance towards an attractive finished fork. It returns to the wheel, a straightedge and two blades that must agree with one another. Only then comes the heat that joins the parts.
The book describes building a bicycle from a set of components. It is a specific account from before 1950, not a prescription covering every fork of the period. Factories and craftsmen used different constructions. Here we follow the sequence this particular book offered its reader.
Getting two blades to agree
A steel crown joins the steerer to the two blades. The steerer rises through the bicycle’s head tube, while the blades reach down to the front axle. Forces from the road must pass through the joints without loosening them. The fork must also guide the wheel in the direction selected through the handlebars.
In the book’s instructions, fork ends are fitted to the hub axle. The blades are tried on the wheel, and their upper ends must match the width required by the crown. If they need setting, they must be removed from the hub first. Otherwise correcting a blade may bend the axle instead.
The steerer is brazed to the crown, and the blade sockets are cleaned after heating. The blades are then fitted, and the wheel returns. A straightedge beside the rim checks the relationship between steerer and wheel. Several points on the rim are used so that a crooked rim does not dictate the fork’s alignment.
The curves in the blades must agree as well. The book suggests comparing them on a flat surface before fitting them to the crown. Two neatly curved steel tubes are not necessarily identical. A difference easily overlooked in loose parts may later displace the wheel.
Heat came later
Once the checks are satisfactory, the parts are secured. Brazing is described using brass and borax flux. The crown needs heat, but the intention is not to melt the entire assembly together. Filler metal must penetrate the joint between the fitted components.
The heavier part and thinner tube do not absorb heat in the same way. Sequence therefore matters. The book emphasises heating the heavier component first and avoiding overheating the tube. It also tells a beginner not to make a first attempt on the bicycle itself: practice with spare tubes and lugs comes before the actual job.
This differs from a universal story about forks bent red-hot over wooden blocks. Metal can be formed in many ways, but this source does not justify making one such method standard for every pre-1950 bicycle. Its clearest requirements are fitting, securing and checking.
The wheel returned
After brazing, the front wheel must be fitted again. Heat may have altered the relationship between the blades, leaving the rim in a different position from the initial trial. A joint that looks finished therefore does not finish the work.
During final setting, the builder must decide whether a small correction is sufficient or a poor joint needs opening and remaking. Only once the parts align can excess filler be cleaned away and the surface prepared for paint.
Making the fork thus ends with almost the same object that began the checks. The front wheel goes in once more. This time it is to remain in the completed bicycle.